Congratulations on your Showit template purchase! Whether it’s one of my designs or not, I’m genuinely excited for you. Showit is an incredible platform, and I know you’ll love using it.
Now, let’s get straight to the point and keep things simple. I’ll walk you through the effortless process of installing your Showit website template:
STEP 1: Log in to your Showit account and head to your dashboard.
STEP 2: Find your name at the lower left-hand corner of the dashboard and click on it.
STEP 3: A window (check the screenshot below) will appear. Click on the ‘Add Design to Library’ button.

STEP 4: After clicking that button, a new popup window will appear (see the screenshot below).
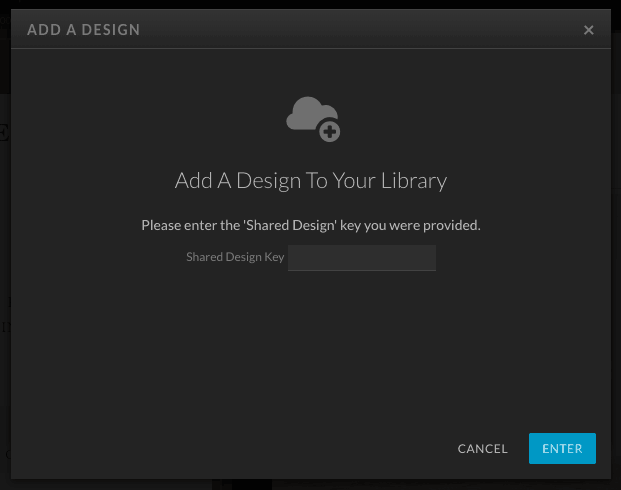
STEP 5: Enter your “Shared Design Key” into the box and hit the blue ENTER button. The key should have been sent to you by the seller of the Showit website template.
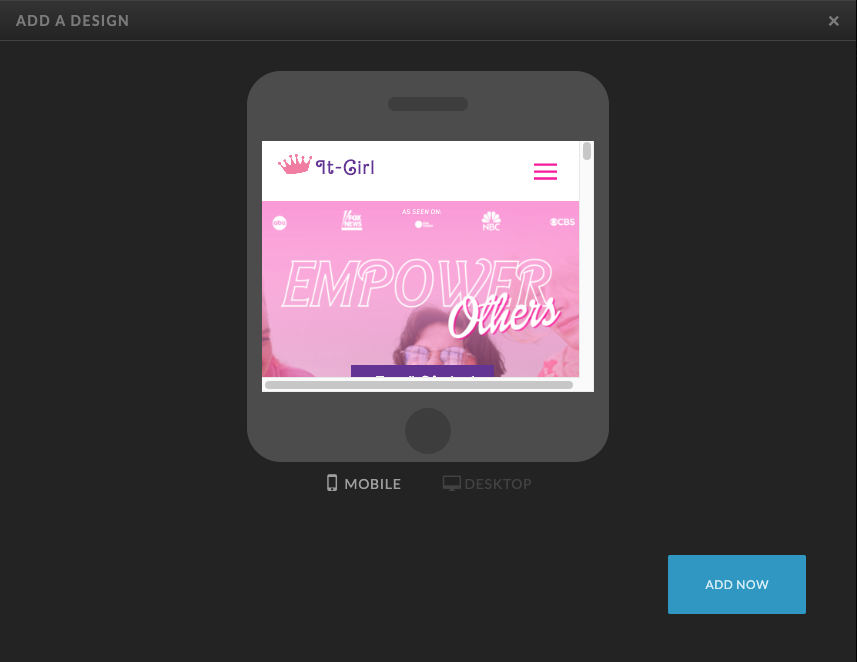
STEP 6: Once you click enter, a popup screen similar to the one below will appear, showing you a preview of the design you’re installing. Simply click the “ADD NOW” blue button at the lower right (see screenshot below).
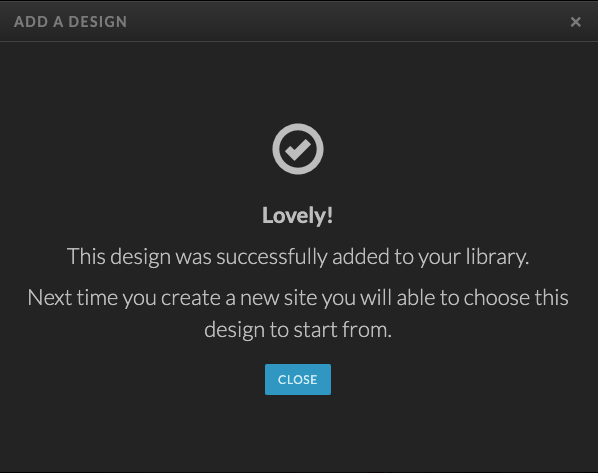
STEP 7: After clicking “Add Now,” a final popup window will confirm that it was successfully added. Hooray! However, we’re not done yet; this step only adds it to your library.
STEP 8: Return to the lower left of your Showit dashboard and click on your name again (as you did in Step 2). The same window from Step 2 will pop up (see screenshot below).
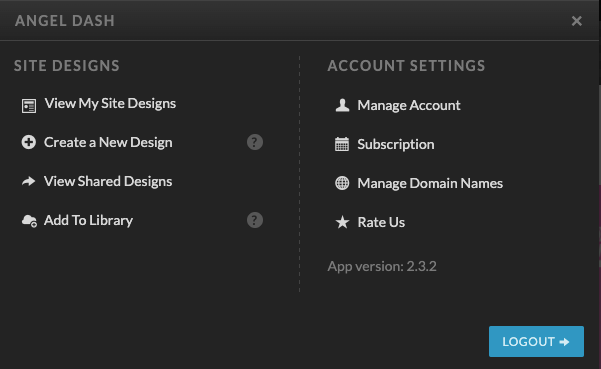
STEP 9: Click on the ‘Create a New Design’ button.
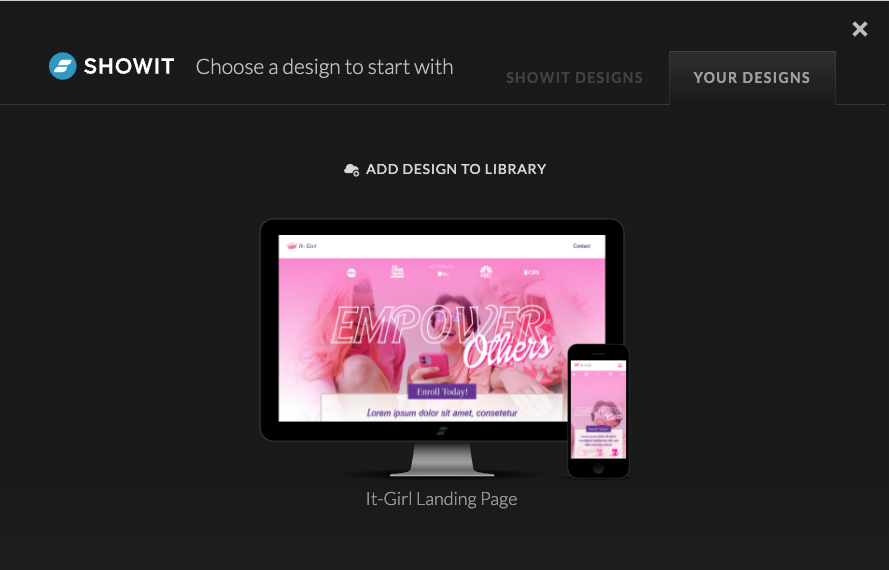
STEP 10: When the next screen pops up, you might find yourself on the “Showit Designs” tab by default. Switch to the “Your Designs” tab (as seen in the screenshot below). Click on that tab.

STEP 11: In the “Your Designs” tab, you’ll see the template you just installed using the Shared Design Key. Click on the design you want to start with. Remember, you can easily customize any template you’ve purchased.
STEP 12: Now, simply press the blue button that says ‘Start with This Design.
‘Voila! You’ve successfully installed the design. Your dashboard will display all the pre-designed and pre-loaded pages. Now, you can jump right in and customize the template to your liking. Change your images, website copy, social proof (such as press badges or reviews), and make it uniquely yours!
Let me know in the comments if you found this post helpful!
As always, remember to be authentically you!
<3 Angel